Hardware selection
Raspberry Pico W only setups
homebattery supports running on a bare Raspberry Pico W. The system is then powered via the micro USB port.
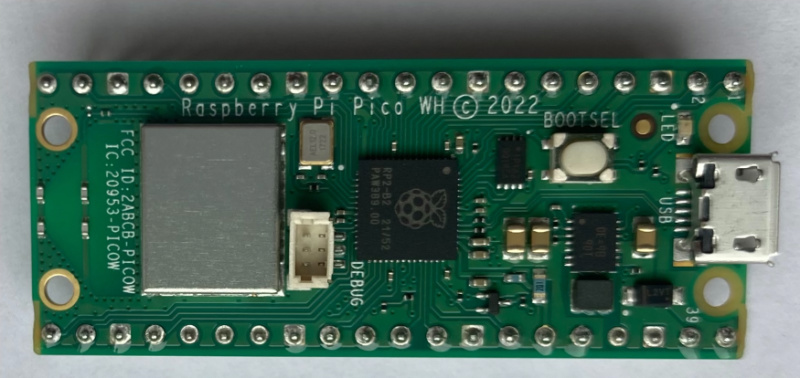
This setup comes with some limitations:
only devices connected via network or Bluetooth can be used
no display or LEDs
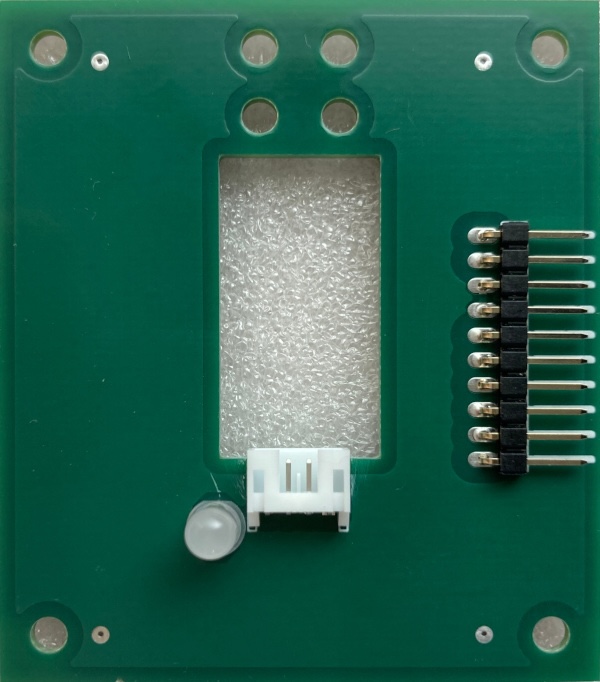
Raspberry Pico W on baseboard
The homebattery baseboard features
an OLED display
status LEDs
power via wide voltage range input, 5V input or micro USB
two extension ports for add-on boards
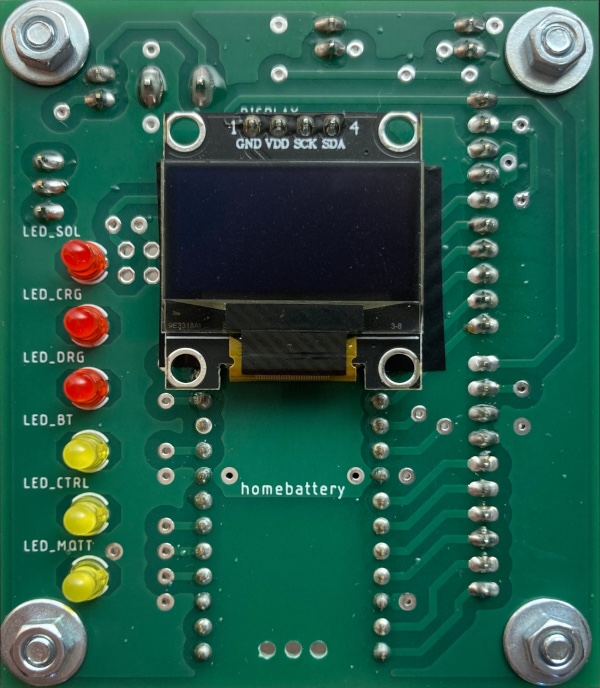
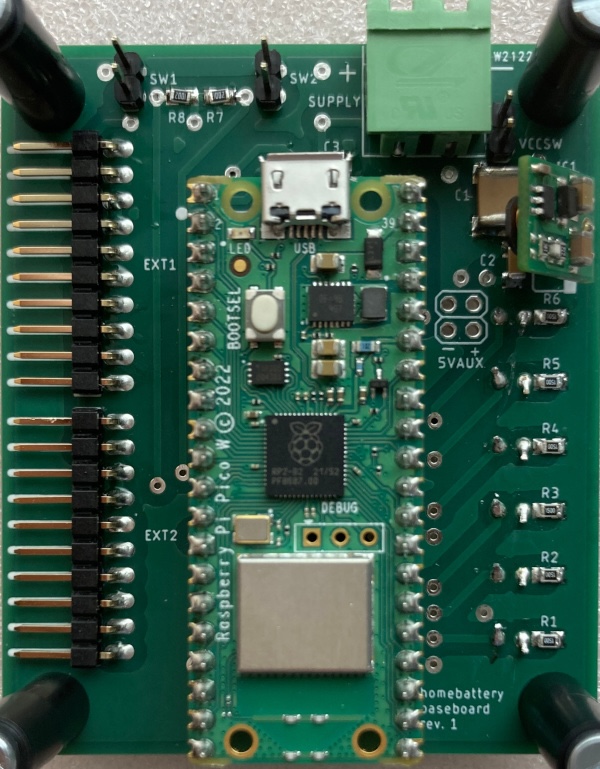
For more information, see the hardware reference.
Multi controller setups
If more devices than two add-on boards can connect shall be used, a multi controller setup is necessary.
Example setup:
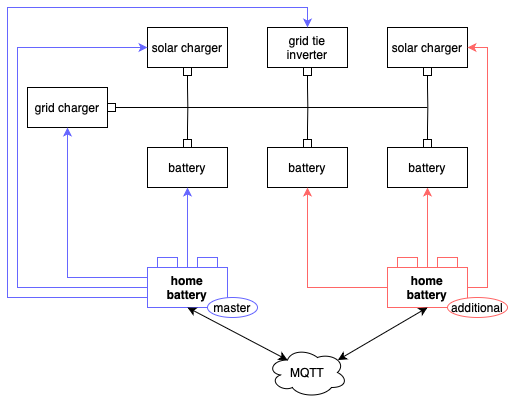
In a multi controller setup, all inverters and grid chargers are connected to one main controller. Solar chargers and batteries can either be connected to the main controller or to one or more additional controllers.
For more information, see TODO.
Housing
The homebattery PCBs have
60x70 mm dimension
mounting holes for M3 screws
a height of approx. 75mm for 1 baseboard and 2 add-on boards stacked onto each other
There is no case specifically for home battery, but there are instructions how to use a standard case with transparent front, see the hardware reference.
Add-on boards
VE.Direct
Victron SmartSolar and BlueSolar MPPT solar charges can be connected to homebattery using the VE.Direct add-on board.

For more information, see the hardware reference.
RS-485
RS-485 or modbus devices can be connected to homebattery using the RS-485 add-on board. Cables can be connected via screw terminal or RJ45 jack with any pin configuration. Failsafe resistors and termination can be enabled via solder jumper.
For more information, see the hardware reference.